In a world where everything content and data drive success for most businesses, complexity with data is not uncommon. Especially, when it comes to eCommerce, not all data can fit neatly into labeled containers called “products” or “categories.” Sometimes you have to create your own container, and that’s where Pimcore comes in, giving you a powerful way to define your own object data types, or classes.
If you’ve ever wanted full control over how your data is structured, displayed, and reused across systems, custom object classes are the tool for the job. The added benefit is that you don’t need to be a developer to start building custom object classes; you just need to know the basics of the Pimcore admin interface and have an idea of what you want to make.
Let’s dive into what custom object data types really are, why they matter, and how to create your own in Pimcore with clarity and confidence.
What are Object Classes in Pimcore?
Think of a class in Pimcore as a template or blueprint. It defines the layout for the type of data you want to manage. For example, if you are building an online library, you might make a class called “Book” with fields for the title, author, ISBN, price, cover image, publication date, and possibly a short description as well.
For each class you define, you will be able to create as many individual data objects as you want from that class. All the information you enter will now follow the same layout and will contain the same type of fields. It’s like defining the mold one time and then every time you want to create a new item, you simply fill it with new content.
It’s not just about structure, it’s also about usability. Every time your team members (editors, marketers, data managers, etc.) input or edit data, they will be interacting with the structure of the class. Having a class that is clear, logical, and easy to interact with will help ensure that your operations run smoothly.
Why You Might Need Custom Object Types
Every business has its quirks. Your data model probably doesn’t match a standard plug-and-play template. That’s why Pimcore allows you to define your own object types from scratch. By creating your own object classes, you’re tailoring Pimcore to your business, not the other way around.
Accessing the Class Editor in Pimcore
Creating a new object class in Pimcore starts from the Class Definitions panel.
Here’s how to get there:
- Log in to the Pimcore admin interface
- On the left sidebar, click Settings
- Under “Data Objects,” choose Classes
You’ll see a list of all the existing classes in your system. From here, you can create a new one or edit an existing class.
Creating a New Class from Scratch
Let’s say you want to create a new class called “Book.” Here’s how you’d do it step by step.
Step 1: Add the Class
Click the Add button (the “+” icon) at the top of the class listing. A dialog will pop up where you’ll enter a name for your class. Pimcore automatically generates an internal identifier, but you can adjust it if needed.
Once the class is added, it will open in the class editor window.
Step 2: Organize Fields into Tabs
The class editor lets you create field groups, which appear as tabs in the object editing view. This helps organize information and makes it easier for editors to find what they need.
For the “Book” class, you might create tabs like:
- General Info
- Metadata
- Images
- SEO
Tabs are added using the Add Fieldgroup option. You can rename them and drag fields into them as you go.
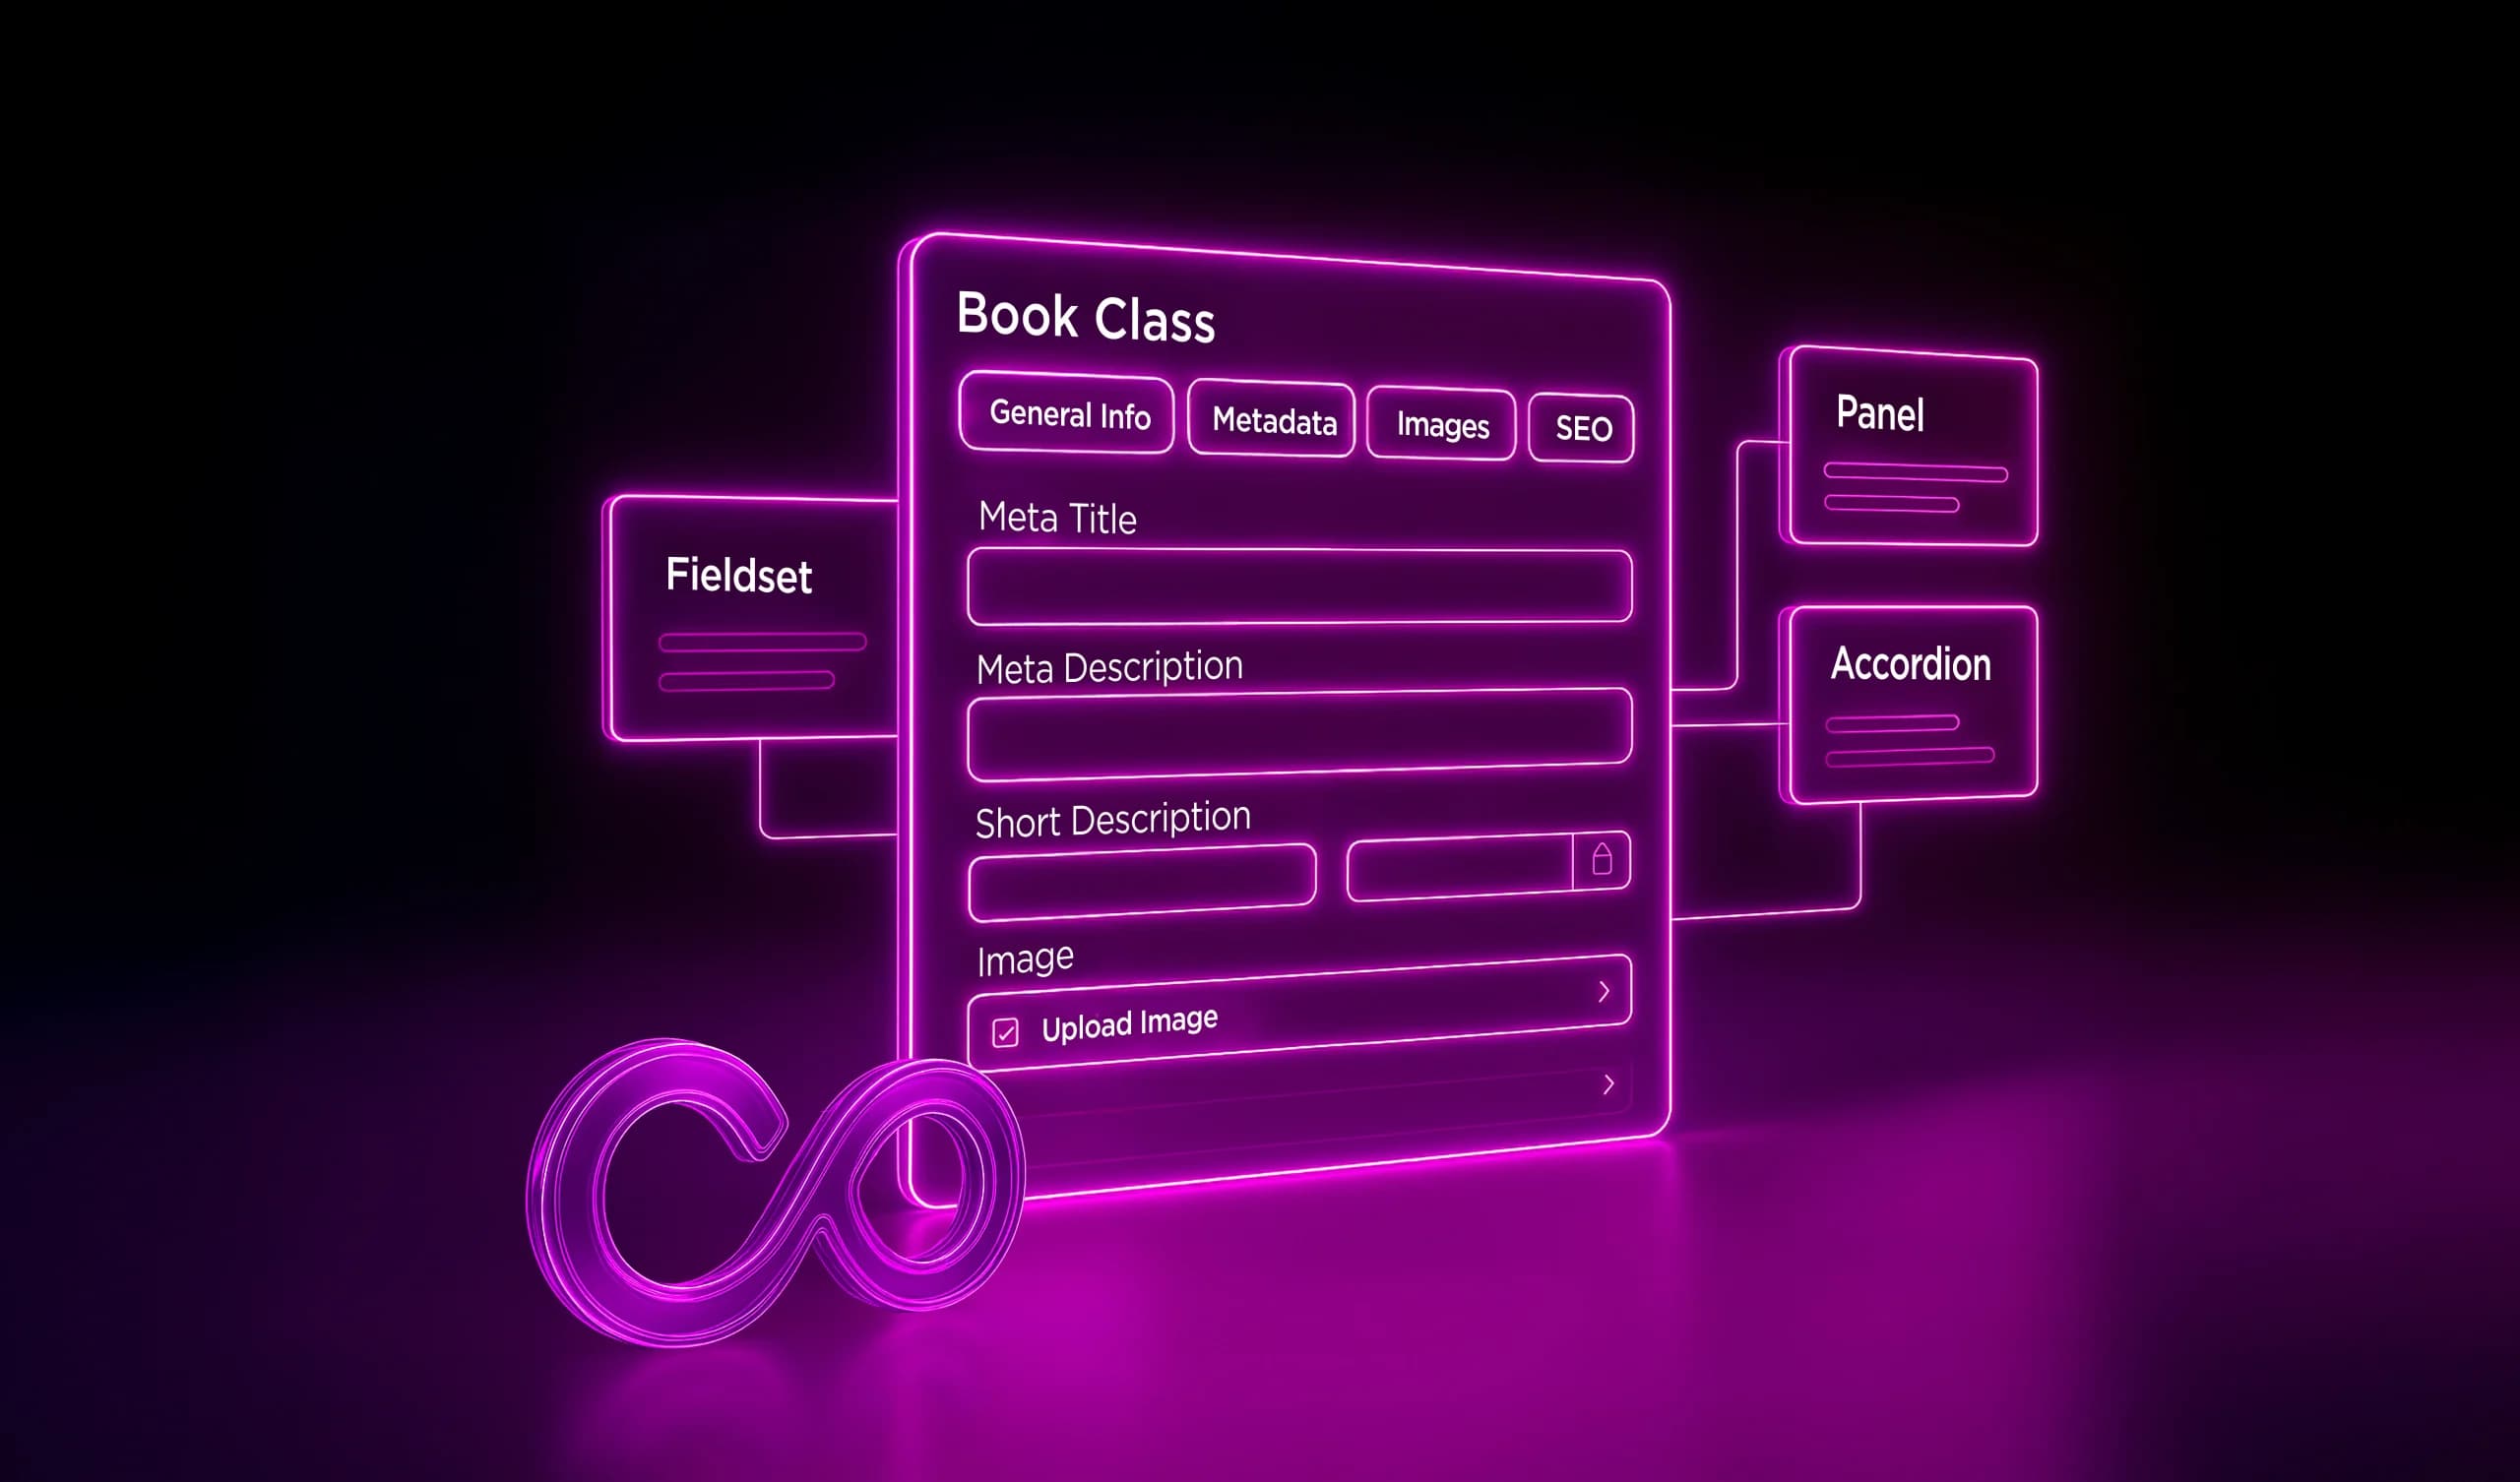
In addition to tabs, Pimcore also provides other layout elements you can use to improve structure and usability inside each tab or panel:
- Tabs: Great for breaking your form into sections. just add a fieldgroup and it becomes a new tab. Super handy when you’ve got a lot of fields to deal with.
- Panels: Basic containers to group related fields together
- Fieldsets: Collapsible sections within panels, ideal for optional or secondary data
- Accordion: Similar to fieldsets but displayed one at a time for better focus in long forms
These layout elements help you keep the class editor clean and intuitive, especially when working with a large number of fields.
Step 3: Add Fields to the Class
Now comes the real work — adding individual fields to your object structure.
Pimcore provides a long list of field types, such as:
- Input field for short text like the book title
- Textarea for longer content like a summary
- Numeric for price or number of pages
- Date for publication date
- Image for cover photos
- Many-to-one Relation to link this object to another (like linking a Book to an Author object)
Each time you add a field, you’ll configure its properties — label, type, whether it’s mandatory, and more. All of these settings control how the field behaves in the object editor.
Step 4: Save and Publish the Class
Once you’ve added all your fields and arranged them into the appropriate tabs, hit Save. Then click Publish to make your class live and available for use.
You now have a custom data type in Pimcore that matches your exact business needs.
Creating Objects Using Your Class
With your class created and published, it’s time to start putting it to use.
- Navigate to Data Objects in the Pimcore admin
- Right-click on a folder where you want to add a new object
- Choose Add Object, then select your newly created class from the list
You will be redirected to a form that matches the structure previously defined. Once you fill out the values and click on “Save,” you will be able to create a new data object.
Cloning and Modifying Classes
If you want to use an existing class as the starting point for something similar, duplicating it is really easy with Pimcore. For example, if you have a class called “Book” and you want to create a class called “Magazine”, both of them will share around 75-80% of the fields.
So, Pimcore makes sure that you don’t need to start from scratch and save time and effort by doing the following:
- Go to the Class Definitions panel
- Click the Clone icon next to the Book class
- Rename the copy and adjust the fields as needed
This saves time and ensures consistency across related data types.
A Closer Look at Field Types in Pimcore Classes
When building a custom class, the fields you choose are what bring the structure to life. Pimcore offers a huge variety of field types, and each one serves a distinct purpose.
Here are some of the most commonly used ones — along with practical examples so you can decide when and where to use them.
1. Input Field
This is the simplest field type and is perfect for short strings like names, titles, or identifiers.
Example: Book Title, Author Name, SKU Code
2. Textarea
When you need room for more text, such as a paragraph or description, use a textarea.
Example: Book Summary, Product Description, FAQs
3. Numeric
Use this field for storing numbers — prices, quantities, or weight.
Example: Price, Page Count, Stock Quantity
You can configure decimal points and define min or max values to prevent invalid entries.
4. Date / Datetime
For anything that involves time — launch dates, publication years, or events — this field is your go-to.
Example: Published On, Available From, End Date
5. Image and Image Gallery
Perfect for managing single images or multiple ones.
Example: Cover Image, Product Gallery, Certificate Photos
These fields integrate with Pimcore’s Asset system, letting you browse, select, or upload files on the fly.
6. Select and Multiselect
If you want users to choose from predefined options, use these. Select for single choice, multiselect for multiple.
Example: Language (English, Spanish, French), Genres (Fiction, Drama, Mystery)
You can define static options or pull values dynamically using a data provider class.
7. Many-to-One / Many-to-Many Object Relations
When your object needs to connect with other objects, relations come into play.
- Many-to-One: A book has one author.
- Many-to-Many: A book can belong to multiple categories.
These relation fields ensure reusability and clean data linking — instead of duplicating data, you reference it.
8. Use Classification Stores for Grouped Attributes
Useful when large product categories need different sets of attributes. Create groups and assign them as per requirement.
Example: Laptop (RAM, Processor, Storage), Shirt (Size, Material, Fit)
9. Add Field Collections for Repeatable Structures
For repeating sets of fields, like a list of awards or reviews, create a Field Collection and add it as needed.
Example: Multiple Authors, Customer Reviews, Awards List, Features and Benefits
10. Use Blocks for Inline Repeatable Fields
When you want to repeat a group of fields within an object itself, Blocks let you do that without creating a separate collection.
11. Use Localized Fields for Multi-language Content
If your project supports multiple languages, Localized Fields help manage translations within the same object.
Example: Product Title, Description,Meta Title, Meta Description, Highlights, and other content in multiple languages.
Layout, Panels, and Readability Tips
Creating a functional class isn’t just about adding fields. How you organize them visually can make or break the experience for your content editors. Pimcore gives you layout elements like:
- Panels: Group related fields together
- Fieldsets: Create collapsible sections for optional data
- Spacers & Labels: Add breathing room or notes
For example, in your Book class, you might want:
- A General panel for title, author, and price
- A Details panel for ISBN, publication date, language
- A Media panel for cover images and file uploads
- An optional SEO Settings panel using a collapsible fieldset
Keeping your class tidy isn’t just a UX bonus — it makes maintenance easier in the long run.
Custom Layouts
Custom layouts allow you to show only certain fields to create different views for a class. These are especially useful when different user roles need to work with different subsets of data.
To create one:
- Go to the Custom Layouts tab in your class editor.
- Click “Add Custom Layout” and give it a name.
- You’ll now see a layout editor. Add fields and layout elements to it, just like you did for the main class.
- Save the layout.
You can manage multiple layouts for the same class and assign them to users or roles via permission settings.
Note: Custom Layouts only control what’s being displayed to the user; they don’t alter the underlying data.
Common Mistakes to Avoid
Here are some common pitfalls that can cost you time or break your data model:
1. Skipping Tabs or Panels
Dumping all fields into a single panel might seem easy at first, but it becomes a nightmare to manage later. Organize fields into logical groups from day one.
2. Overusing Object Bricks
While Object Bricks allow dynamic field structures, using them excessively can slow down performance and confuse editors. Use them only when absolutely necessary — like when fields vary drastically between object subtypes.
3. No Field Naming Convention
Naming fields randomly like field1, titleText, or thisThing is for chaos. You should always stick to consistent, clear, lowercase names. Use underscores if needed, such as book_title, author_bio, release_date.
4. Not Using Relations
If you’re repeating the same data across objects, like publisher names or author bios, it’s better to create separate classes and link them. Doing this makes sure that your updates are clean and there are no duplicates.
Versioning and Backups
Pimcore will store a version of your object. Every time you save one. What this means is you have the ability to roll back in case something doesn’t go your way.
But here’s the part most people miss — class definitions don’t have versioning. Once you change a class, there’s no undo unless you’ve backed it up manually.
How to Backup a Class:
- Open the class in the Class Definitions panel
- Click the Export icon (usually a small arrow)
- Save the .json file somewhere safe
This export can be re-imported anytime, restoring the previous layout. Always export your class before making big changes, especially in production environments.
Conclusion
Custom object data types are what make Pimcore much more than just a regular CMS. They let you design your data exactly the way your business needs it, whether it’s for a product catalog, a digital library, or a knowledge base. You’re not stuck with fixed templates or limited structures.
Once you start using them, you’ll see that creating classes isn’t just about setting up fields. It’s about shaping how your entire system understands and handles your data.
And with the flexibility of layouts, the power of relation fields, and the security of versioned content objects, Pimcore gives you the freedom to build anything, while keeping your data clean, reusable, and future-proof.


